Use the In-Store POS Simulator
The In-Store POS Simulator provides a complete understanding of the messaging protocol for Payment Terminal Application. The POS Simulator demonstrates how to implement the APIs and gives you the opportunity to try out the APIs in a mock environment.
Learn how to launch and use the POS Simulator on your payment terminal device.
Before you begin
Contact the Integration Specialist assigned to your project to obtain the POS Simulator.
Launch the POS Simulator
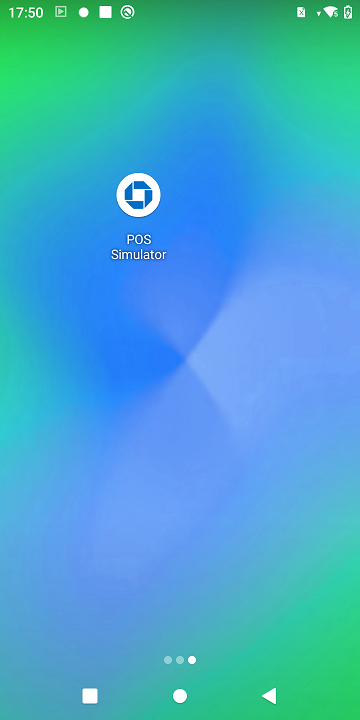
Perform the following steps to launch the app on your payment terminal device:
- Select the Payment Application POS Semi-Integrated Simulator application to launch the POS Simulator.
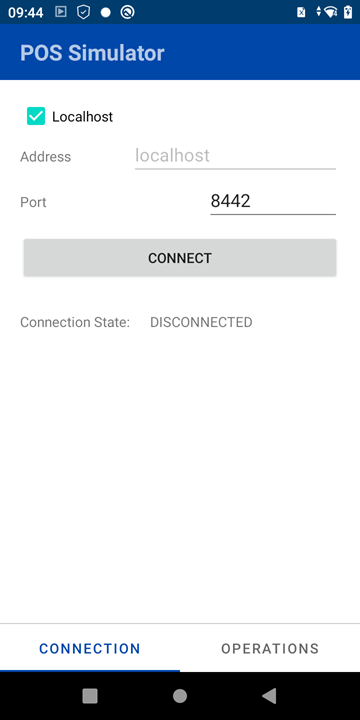
- Enter the IP address of the payment terminal device. Use the default port 8442.
- Click Connect to connect to Payment Terminal Application.
Select an API request
Perform the following steps in the POS Simulator to select an API request:
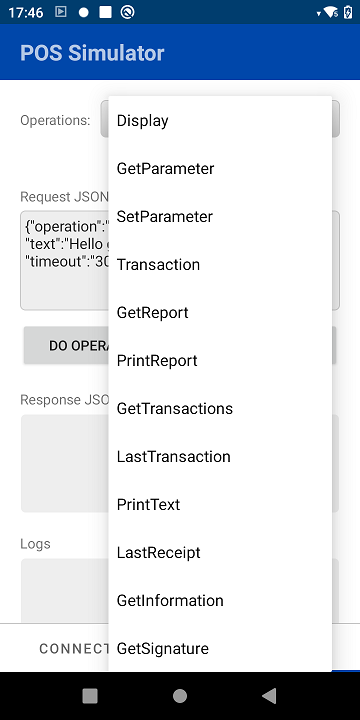
- Switch to the Operations tab to select an API request.
- Select GetInformation.
- Click DO OPERATION to send the command to Payment Terminal Application.
- Result: Payment Terminal Application returns a response. Modify the request JSON as needed.
Create a POS request
Create your first transaction message between the POS and Payment Terminal Application.
Initialize the connection to Payment Terminal Application
To open a secure WebSocket connection, provide the network details of the payment terminal device to the WebSocket interface.
class ConnectionFragment: Fragment(), WebSocketClientCallback {
Fun connectToServer() {
		var address = "wss://localhost:8443"
		val uri = URI.create(address)
		instance.webClient = WebClient(uri)
		val sslContext = getSslContext()
		instance.webClient?.setSocketFactory(sslContext.socketFactory)
		instance.webClient?.listener = this@ConnectionFragment
		instance.webClient?.connect()
}
}
In the preceding example, the IP address is a loopback address when your POS runs alongside Payment Terminal Application on the same device. Here is an example address for a POS on a separate device:
var address = “wss://192.168.1.2:8443”
Write a message to Payment Terminal Application
Sending a data message across an open WebSocket connection is a short process. The message is a plain text JSON string written to the waiting Payment Terminal Application.
Here is an example of a message to Payment Terminal Application:
fun writeMessage() {
	var jsonString: String = """
{
	"operation" : "Display",
	"text": "Hello, world!",
	"timeout":"5000"
}
"""
	var json = jsonObject(jsonString)
	instance.webClient?.send(json)
}
Read responses from Payment Terminal Application
Each request receives a response from Payment Terminal Application. You receive the response as an event by the WebSocket manager.
class OperationFragment: Fragment(), WebSocketClientCallback {

override fun onRead(message: String) {
	CoroutineScope(Dispatchers.Main).launch {
		Log.d("POS", "json:onRead: $message")
//Message has been received.
//Parse and respond accordingly.
}
}
}
Response code handling
Each response from Payment Terminal Application includes a response code in the result field.
Here is an example of a response:
{
    "operation": "Display",
    "result": "0"
}In this case, a result of 0 from the Display operation indicates that the request executed successfully. Alternatively, a value of 10 would indicate that the message request timed out.
The POS must parse each response to determine, for example, where Payment Terminal Application is in the transaction flow or the status of the UI display of the payment terminal device.
Here is an example of parsing the JSON response:
import org.json.JSONObject
fun parseResponseMessage(jsonString: String) {
	val jsonObj = JSONObject(jsonString)
	val responseCode = jsonObj.getInt("result")

	Log.d("POS", "Response Code is: $responseCode")
}
Complex operations have multiple responses for a single request. The Display operation, for example, first returns a response code value of 60 to indicate that the Display screen was displayed. Later, a second response with a response code value of 0 indicates the successful completion of the operation and the expiration of the Display message.
For other complex operations, the POS must interpret multiple asynchronous response messages and behave accordingly.
Transaction flow status updates
Status messages report the current state of the transaction sequence and the payment terminal device display, for example, the current prompt facing the cardholder. The status updates also allow the POS to provide helpful next steps for each phase of the transaction (for example, if the status result indicates that the cardholder is on the PIN Entry screen, the POS directs the cashier to ask the cardholder to enter their PIN number or bypass PIN entry, if allowed).
In this example, the Status result of 20 indicates a successful connection between the Payment Terminal Application and the payment host for transaction processing.
{
    "operation": "Status",
    "context": "Communication",
    "result": "20"
}
Do not handle Status result codes directly. Refer to the result code returned from the individual request command for the final response code. This information is provided for troubleshooting and reference purposes.
Manage a broken WebSocket connection
A WebSocket connection can break due to network connectivity timeouts or a reboot of one of the endpoints. To handle the possibility of a broken connection, logic is required at both the client and server. Your POS manages the WebSocket connection as the client. If the WebSocket connection closes, you must reconnect to Payment Terminal Application.
If the WebSocket loses connection during a payment transaction, follow these steps to determine the status of the previous transaction attempt:
- Reconnect your POS to Payment Terminal Application.
- Obtain the approval status of the previous transaction with the LastTransaction operation.
- Confirm the WebSocket connection is active.
Close the WebSocket connection
At times, the POS needs to close the WebSocket connection, for example:
- in advance notice of a POS reboot
- to refresh the WebSocket connection when a timeout occurs
- during the lifecycle of the WebSocket connection based on business logic requirements
To shut down the WebSocket connection, perform the close() operation:
fun closeConnection() {
		instance.webClient?.close()
}